|
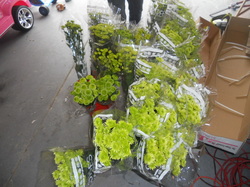
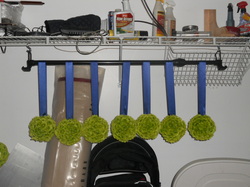
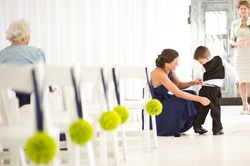
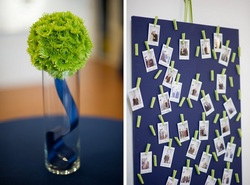
The venue Meghan and Taylor picked was beyond perfect! But, we wanted to bring in some color to the white chairs that filled the white space...our idea Pomander/Kissing Balls! Their colors are navy and green so the perfect flower to use is green button mums. They are easy to work with, can be found year round and are relatively cheap. They also last for days! First we wanted to make a prototype to see what size we wanted, how many flowers and pins and ribbon it would take to complete the project. Here is a tip, use Styrofoam balls instead of oasis balls. Any florist will tell you the opposite. We tried both, and the Styrofoam balls worked best. The oasis balls are more expensive and were VERY heavy, in fact the flowers did not stay secure and were droopy the day after we made them. First we wrapped navy ribbon around the Styrofoam balls and pinned them into place creating a loop at the top perfect to hang over the chairs. Next we began pinning the flowers around the ball using pearl colored corsage pins. For a cheaper option you could use straight pins. We liked the added effect of the pearl pins. We used a 4" ball and it took about 80 flowers to cover the entire ball. We averaged that each ball cost $10-$12. The florist quoted us a minimum of $20 a ball. We made 16 balls one for the flower girl and two ring bearer pillows. These were made just like the balls only using rectangles. To make sure the flowers did not shed we sprayed them with Aqua Net hairspray, and it worked! I did tons of research and used, The Flower Exchange and ordered the fowers 6 weeks before the wedding. The flowers were delivered on Wednesday and we placed them in buckets of water to make sure they were good and hydrated. We completed them Thursday before the wedding and hung them in my garage using a clothing rack hanger fit for my car. Side note: The temp was 40-50 degrees outside. We had also purchased tall glass vases from Target for $1.99 a piece so that after the ceremony they Pomander Balls could be used for additional decoration. photo by The Studio B Photography photo by The Studio B Photography
Comments are closed.
|


